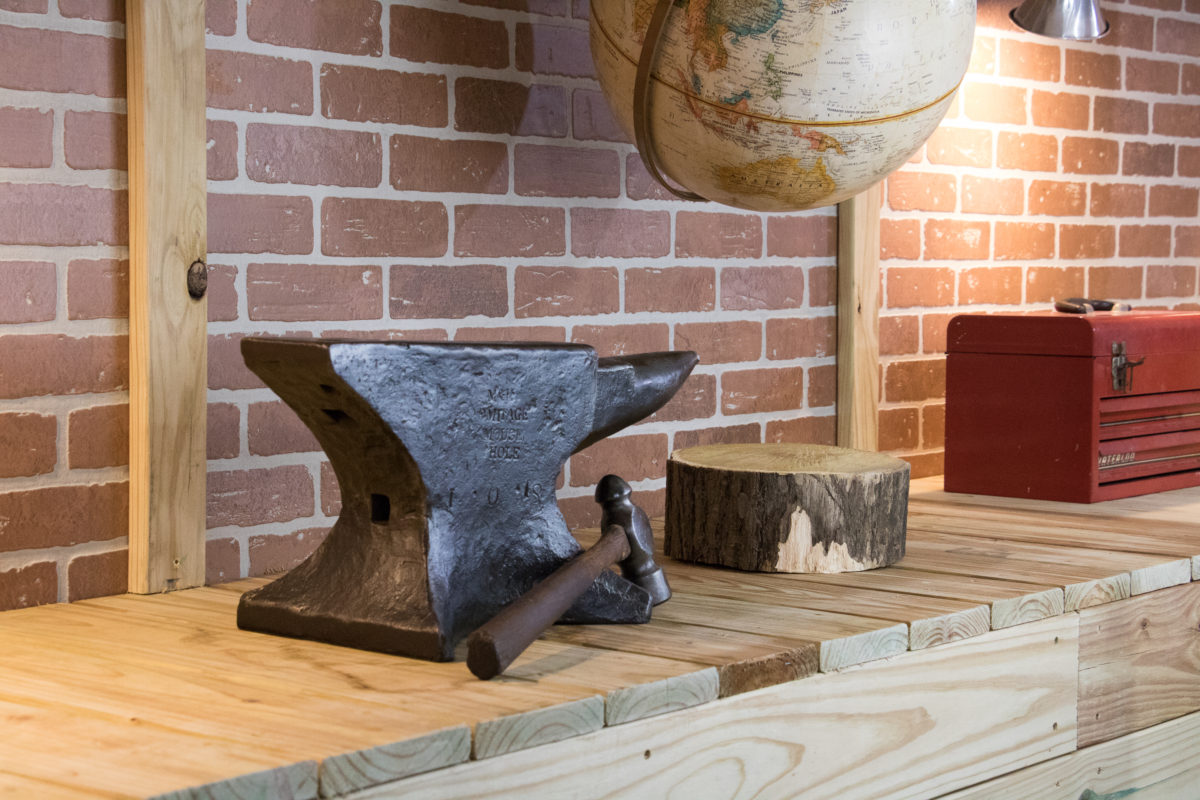
I recently took the time to get this anvil cleaned and oiled properly so it could take up residence in our sharpening shop. In the process of cleaning it up, I decided to look into what it was and maybe see if I could find out how old it is. I was blown away and appreciate this anvil even more now. I had no clue it was as old as it is.
HOW I CAME TO OWN THIS ANVIL
As a teenager, I got started riding with a farrier who taught me to trim horses, which led to me shoeing myself. One weekend I was asked by an older man, and long time friend of the family, to come shoe three horses for him. He watched me very closely and was pleased with my work. At the time I was using a cut off piece of railroad iron, that had some holes drilled in it to shape my shoes. When I got done, the man said he’d gladly pay me for my work, or he would trade me for this anvil he had sitting in the back corner of his barn.
To this day, it is still the best payment I have ever received. I carried it in the back of my pickup for years and shaped hundreds of shoes on it. Unfortunately, I was injured in my mid to late 20’s. Shoeing for a living wasn’t an option any longer. So, for the last 10 years, this anvil has found itself once again sitting in the back of a barn.
THE CLEANING PROCESS
I did the research on how to properly clean an anvil. Then I dug it out and went to work. Removing the rust and oiling it back to life. Unfortunately, I am horrible at remembering to take before or even progress pictures. I need to do better!
The first thing I did was completely submerge the anvil in acid to loosen the rust and buildup. I laid in on its side in a big plastic tub to do this. My research suggested using vinegar for the acid soak. I didn’t have that much vinegar on hand and with the COVID epidemic, the stores had a limited supply of everything! I used our tried and true method for cleaning cast iron pots and pans, drain cleaner!
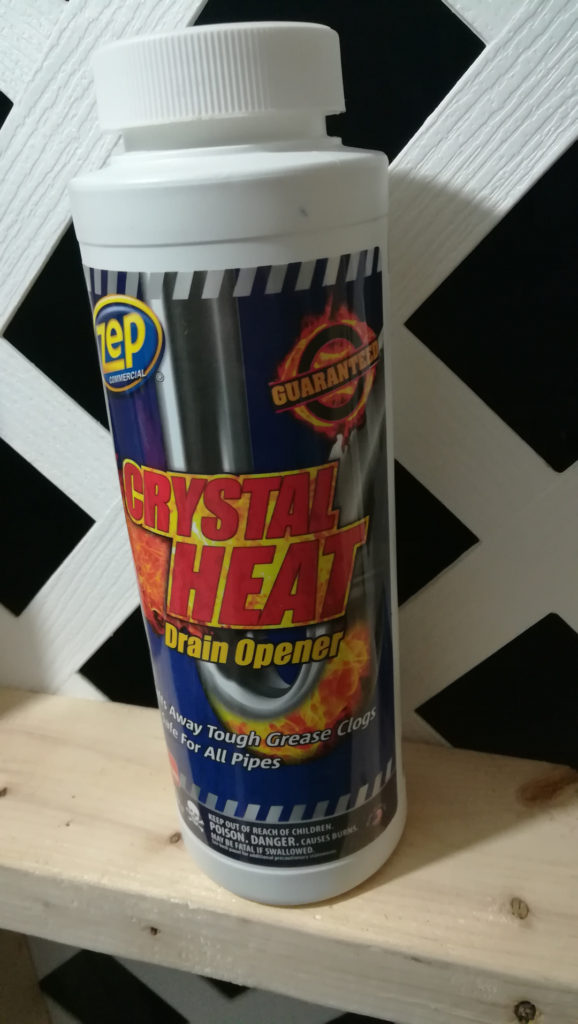
The Sodium Hydroxide ( aka Lye ) works great for breaking down grime, grease, and buildup when restoring cast iron. I had it on hand so I gave it a try. I filled the tub with water covering the anvil. Then I poured a generous amount of drain cleaner in. Note: Always add the drain cleaner into the water, not the other way around, or the reaction will cause boiling and can splash out. I let it soak for 24 hours, covered, outside where it could soak in the heat of the sun.
Disclaimer: If you try this at home, make sure to wear gloves and safety protection. Sodium Hydroxide, as with any kind of acid or lye, can be harmful to your skin and eyes. Use with caution.
THE FINAL STEP
I gave the anvil a quick rinse after draining the acid. I then went over the whole anvil with a wire wheel attached to a hand grinder. Then I put it back in the tub and filled with water. This time I added several cups of baking soda. I let it sit for 30 minutes to neutralize and stop the rust oxidation reaction. I hit it again with the wire wheel.
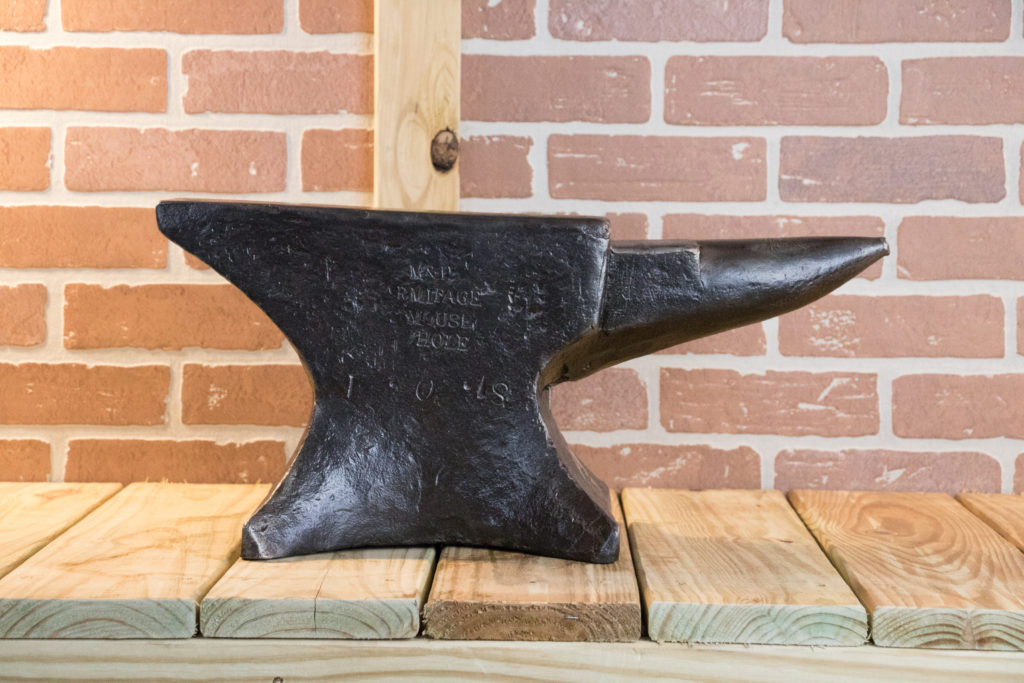
Now it was time to seal it. I used boiled linseed oil for this. This was my first time working with boiled linseed oil. It won’t be my last! I started rubbing in a thick coat all over the anvil. The metal soaked up every bit of it. I let it sit for about an hour before applying a second coat. Once again the metal soaked it up without leaving any oily residue. As it sat and soaked up the boiled linseed oil, the anvil slowly became a dark black color. This color became even richer over the next couple of days as it dried.
Disclaimer: Boiled linseed oil is self combustible. Make sure all rags are properly disposed of after use.
SO WHAT IS IT?
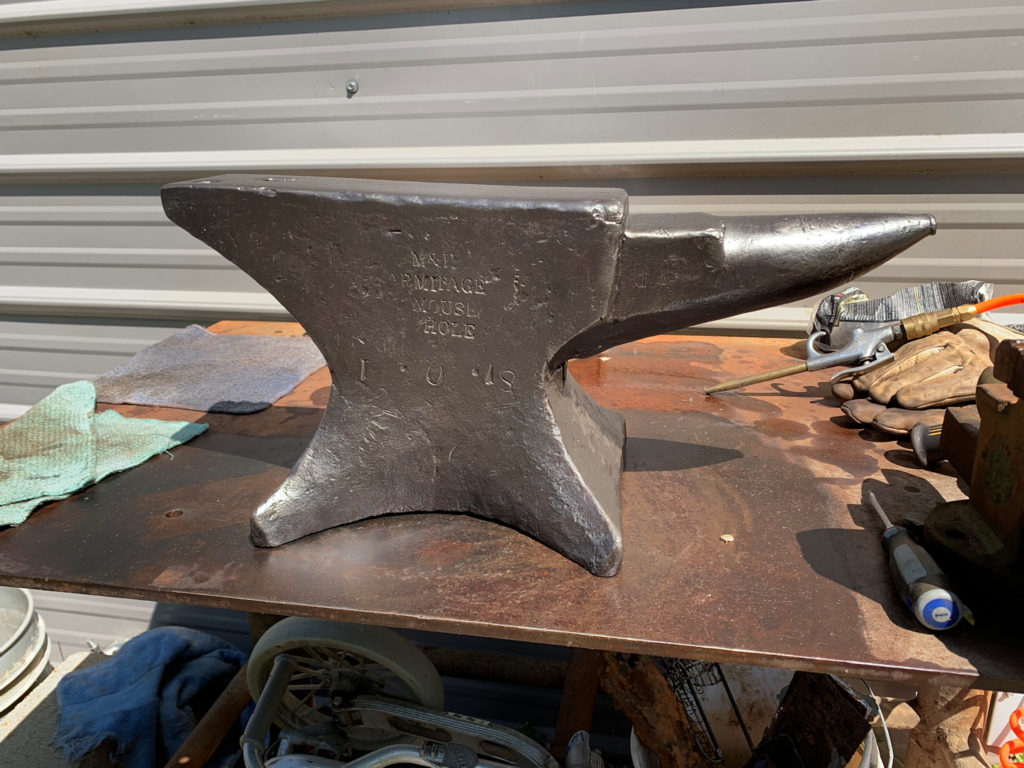
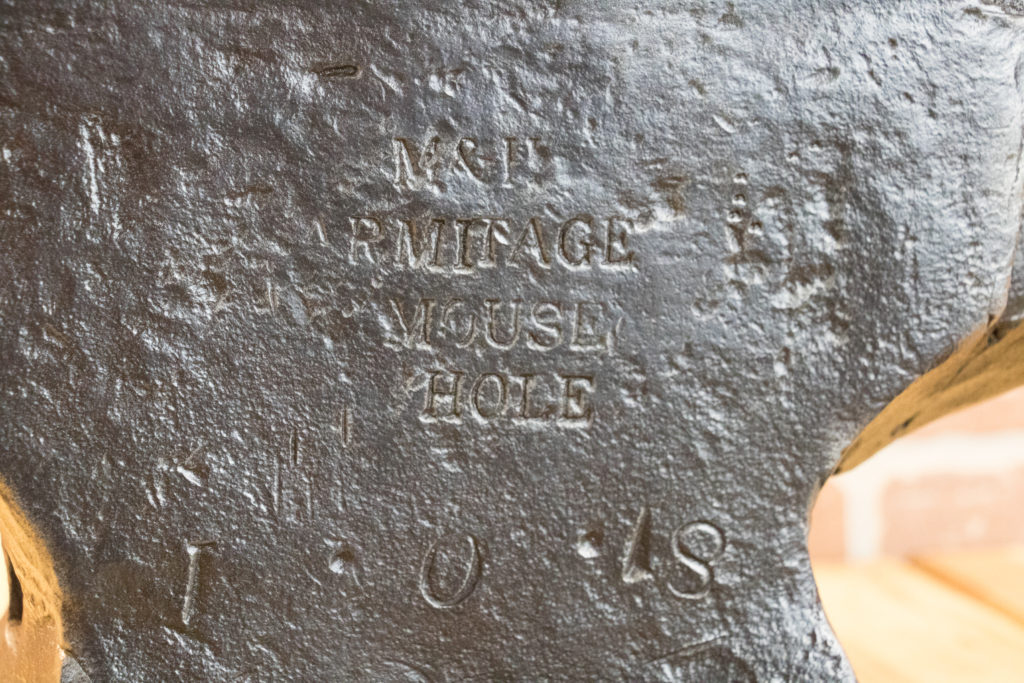
This anvil has spent lots of days in the back of barns. It’s been well used. Luckily the stamps are still in fantastic shape. This is an M&H Armitage Mouse Hole Anvil made in Sheffield England. The stamps indicate it was forged sometime between 1820 and 1835 and it weighs in at 130 pounds.
ENGLISH HUNDREDWEIGHT SYSTEM
I wanted to know the exact weight of this anvil. I had a few guesses, but my curiosity was getting the better of me. So, my wife, Amanda, and I spent the time to wrangle this anvil on our bathroom scale to see what it weighed. Only to find out later, that it was stamped on the anvil all along!
Anvils forged in England back then all carried stamps identifying their birth weight. The numbers ( 1 . 0 . 18 ) stamped on the side of the anvil are English Hundreth Weight marks. I learned that the first number indicates 1 full hundredth weight of 112 pounds. The second number would indicate a quarter hundredth weight of 28 pounds. This anvil has a 0, meaning no extra quarter weight is added. The final number indicates a single pound. This one having an additional 18 pounds. So if you do the math given on the stamp you would get the anvil’s original birth weight of 130 pounds!
112 + 0 + 18 = 130#
The exciting thing to me about this anvil is it still weights exactly what it did at its birth. Over time older anvils that have endured the elements and hard use often weight less than their birth weight.
PS. If you would like to know what your anvil weighs this calculator from AnvilFire.com is really handy.
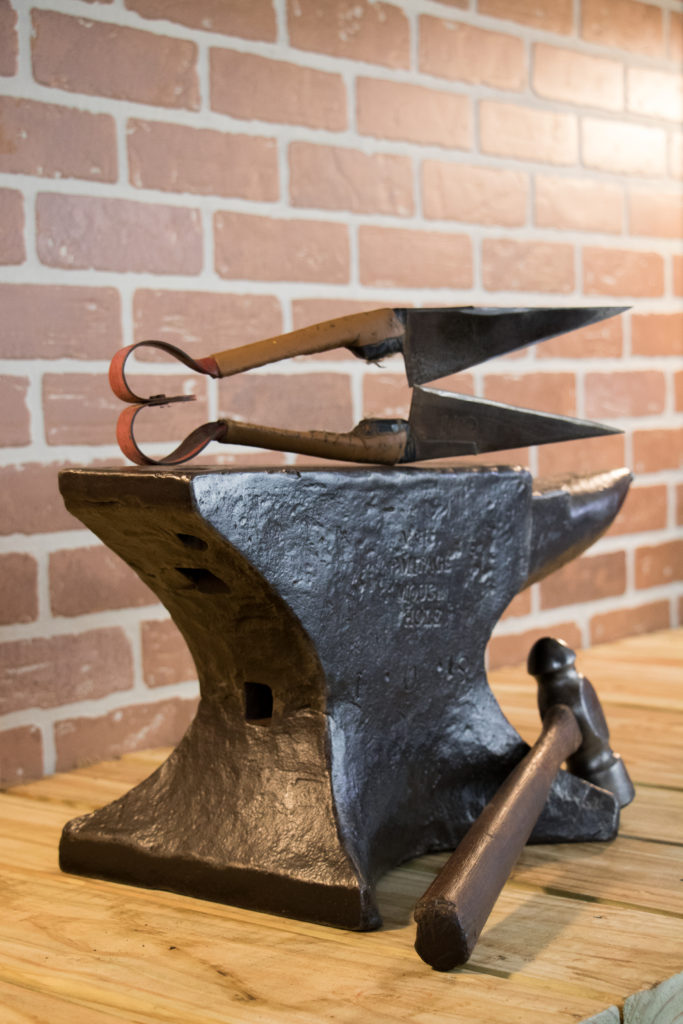
I’ve been blessed to own this anvil for 21 years so far and plan to have it for many more. I am very pleased with how it cleaned up. It’s not only going to be functional in the shop, but it’s going to look great too!
– Daniel

